Showing posts with label living room. Show all posts

Thursday, February 11, 2016

Painted Brick Hearth


So, this past week I got in into my head that I need to paint my hearth. This has become an all consuming obsession. I've been reading and reading over again how to do it, what primer to use and paints, now I think I need to do it. I'd like to add a wood shelf on the top layer of bricks and paint it all bright white to match the wainscoting.


There's nothing wrong with it, per se, it's just... blah. I obviously took down some of the pictures on the mantel and wall. All the other junk is hiding in the kitchen.

What do you think, wouldn't bright white look much better?  Am I crazy? Is it going to get filthy beyond belief with two kids, a dog and a some-times being used wood stove?


Friday, January 29, 2016

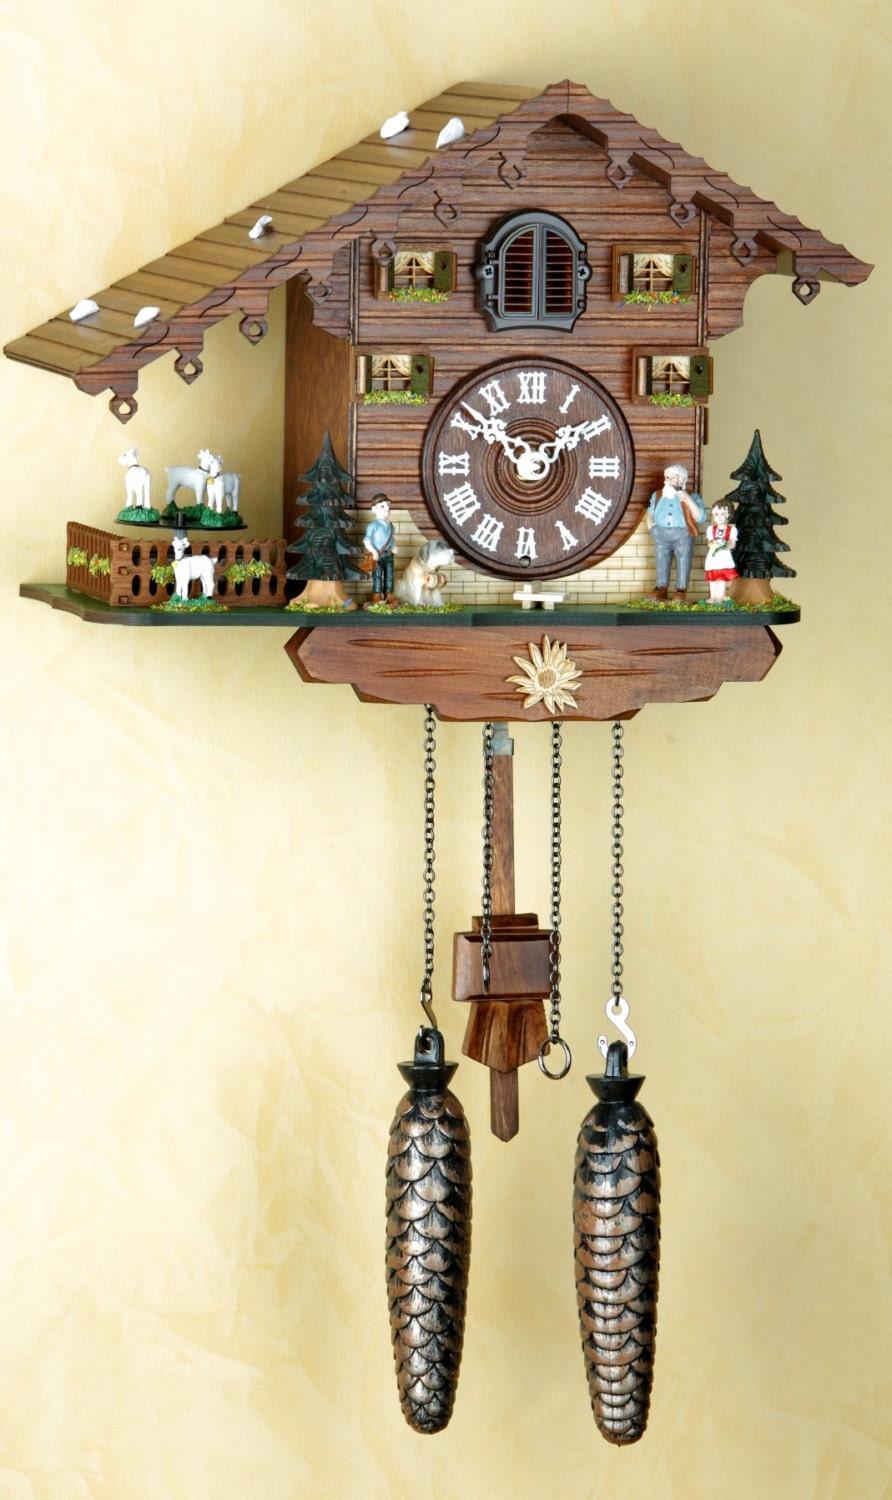
Currently coveting: Cuckoo clock

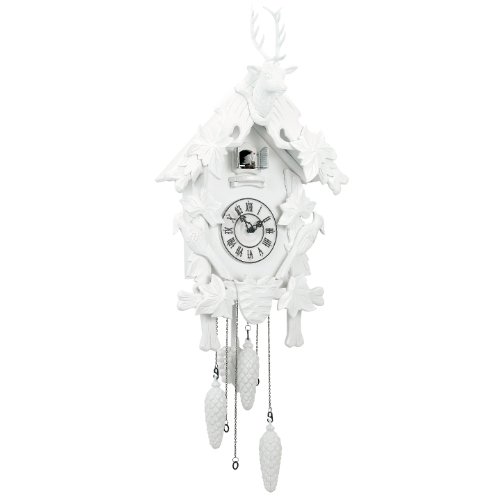
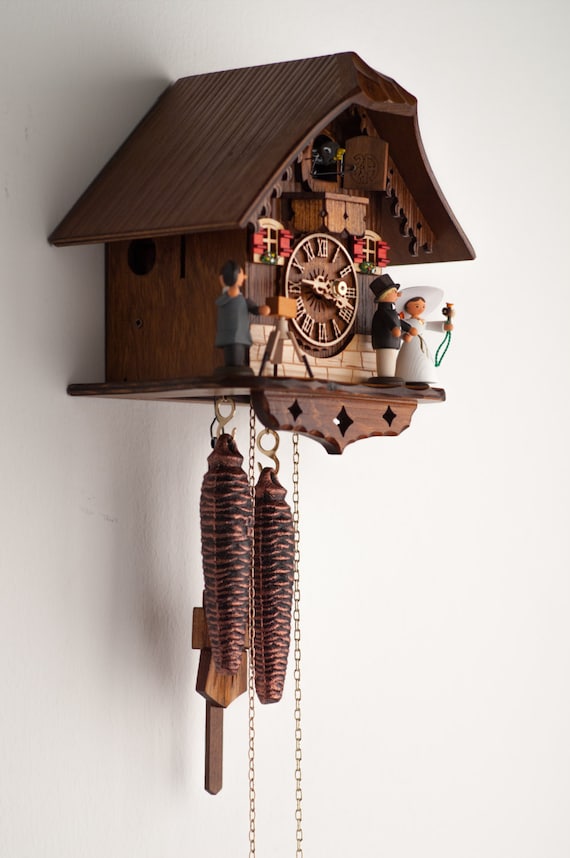
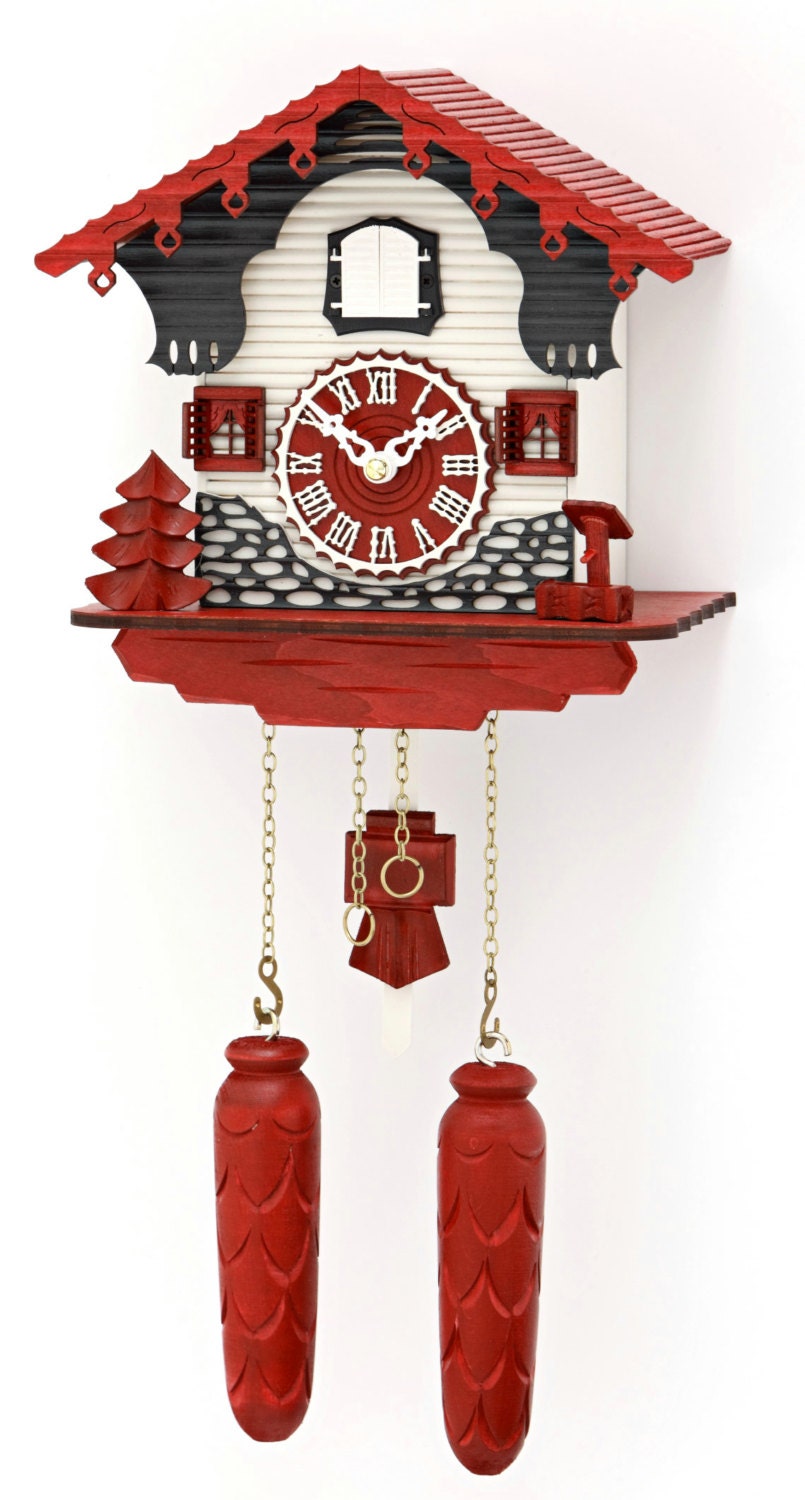
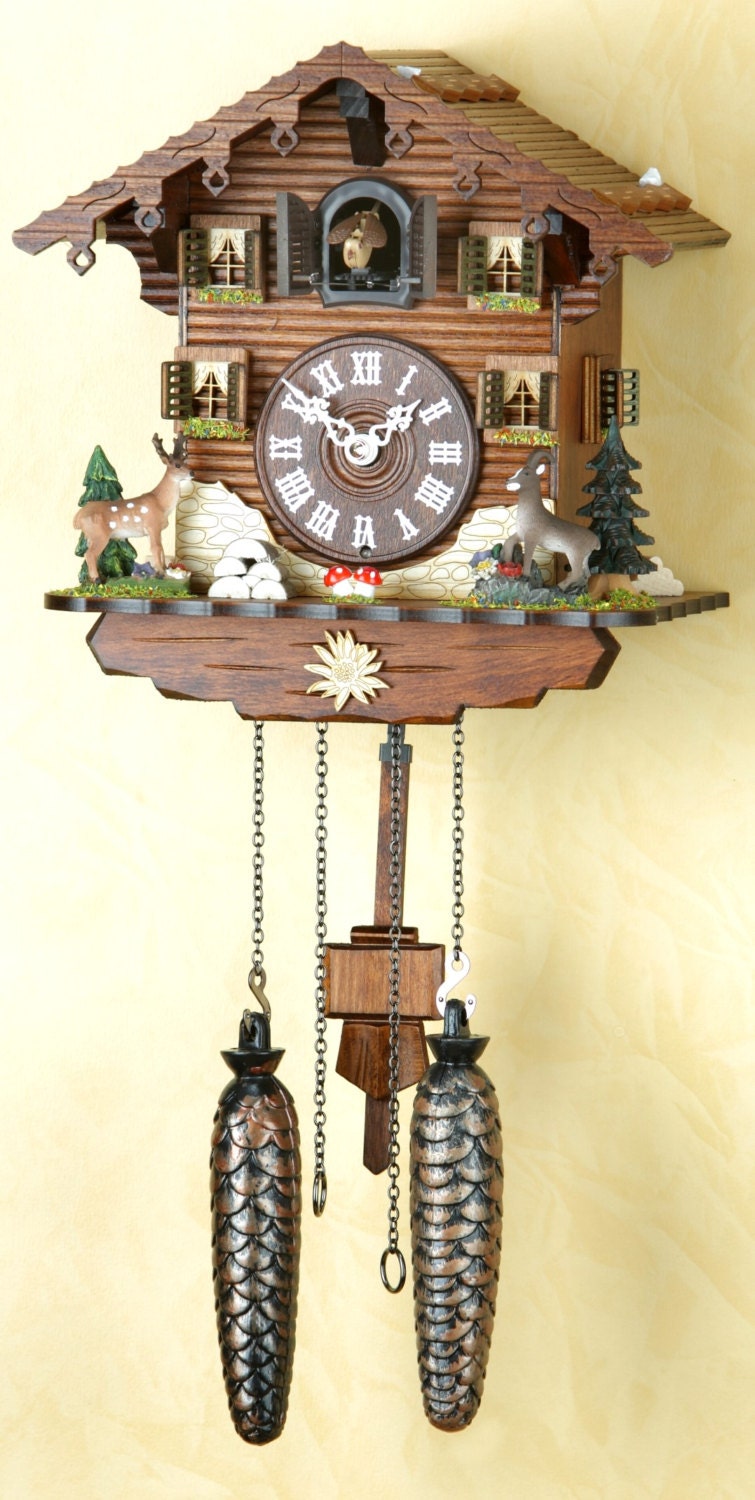
I have no idea why, but for about a year I have REALLY wanted a cuckoo clock. It's part whimsy and part function that really makes me happy. Here's a few that I'd love to get my hands on. And of course I have somewhere special picked out for each one.


This happy little fellow would fit perfectly in my living room.


Any of these three for the playroom


I love this one, I think it's so stinkin' cute!


This one in the dinning room


and of these would do just fine too.


Oh man those little guys at the top and that roof line

Most of these I found on Easy, there is a ton more and they are fantastic! If you're feeling generous, feel free to send me one!

Monday, January 4, 2016

2016 goals

frosty dandelion


Can you believe it's 2016, I certainly can't! 2015 was a big year for us with really great highs and really low lows.

This year I've got goals!

  • Paint every ceiling and the 3 bedrooms
  • Build a fence, even if it's just cattle panels.
  • Improve the garden (more on that coming up later)
  • New play set for the kids, the death trap has got to go!
  • Upgrade a few things in the house the dishwasher, get a few bookcases, figure out a better toy stage system, some new light fixtures for above the table and the bed rooms. 
  • Stop looking like a hobo all the time. I should to start getting my hair done regularly (once a year doesn't cut it and that'll give me some knitting time), get some new jeans. Mine are bad! And just take a little bit of time for myself, I'd like to not be so tired all the time
  • I'd like to knit something nice for myself, it'd been a long time since I made anything for me. I have a ton of this I'd like to make but always end up starting a project for someone else. 

I think my goals are reasonable and all very do-able. I'm keeping it simple for 2016.
What are you working towards this year?

Wednesday, April 15, 2015

Living room part 4 Paint Prep

It's been a while since I talked about our living room, here's a reminder of parts 1, 2 & 3.  Once we decided on the colors (valspar ultrawhite and metropolis), we bought all the supplies. I mean everything, we didn't even have a paint brush.  The first paint job is expensive! Holy Moly! Our living room isn't small, the walls are textured and were dark and we needed to paint the ceiling too. How much paint did I need? No idea, I took a guess. I bought 2 cans of white, 2 cans grey and 2 cans of primer.
pre-paint

Before I could even think about painting I had to caulk everything. All of the trim needed filling and caulking. What a process! I did quickly get the hang of it and once I started it was a breeze!
I primed everything starting with the ceiling, just painting the ceiling made a HUGE difference in the how bright the room was. The walls went pretty quickly but the wainscoting was pretty slow going. It took 3 coats of primer to mostly cover the red. 3!

living room during

I was pretty eager to get the grey on the wall after priming for 2 days. It covered really well and went up quickly! 2 coats and I was done (with a few little touch ups here and there). Painting the trim was a whole other situation. It took a lot of paint to get decent, even coverage. I think the trim took 5 coats and the wainscoting took 4 even with primer. Thats a lot of work for the bottom half of a room!

The best idea I had while painting was to paint that black ring at where the wood stove attaches to the wall. I primed and painted it the same as the wall. Looks much better now!


thermostat removal

A few weeks after I finished painting, we got a new thermostat and moved it out of the living room. Look at that huge hole! It was about half an inch in diameter! Huge and unnecessary! But you can see the color. 


I always under estimate how long it takes to paint. I didn't think it would take nearly 6 hours to paint the ceiling, but when you think about it the room is huge, cutting all the edges and trying to get an even coat on a texture surface all while looking up!

It has been less than 6 months and I'm mostly happy with the results. The baseboards are a little dinged up from the kids and the dog. I think I'll have to do some touch ups this summer but over all I'm happy with it. I've been starting to notice some missed spots in the texture, a friend of mine said "Welcome to textured walls, you'll be seeing spots for the next 5 years!" I think she's right! Every time I go to touch it up, I can't find them!

We currently have nothing on the walls, the wood stove has become a catch-all for frames and other breakables that I had no where to put. We purchased a credenza for the TV and things. We were hoping for something old and antique but after months of try and searching nothing met our size requirements. I'm very happy with the piece we bought!


I'm really happy with the colors we picked, when I walked in the living room the next day I said "This doesn't even look like the same house!" You can see the fireplace in the reflection, the big black ring is painted and has disappeared into the wall.
Our mirror update is here

Up next will be decorating. I'm trying to be patient and only get things that I love but with two little kids the things I love aren't always realistic!

Tuesday, February 10, 2015

Living room part three Paint choices!

Picking paint colors is hard! Who knew there was so many greys and whites! Do you go with what you like or the old adage "Take the color you like and go two shades lighter"? We wanted something classic to go with our 100 year old farm house. 

We brought home about 20 different grey paint chips. They all looked great in the store then we got them home and put them on top of the wainscoting and waited. And waited. Finally we narrowed it down to two greys and two whites. 
valspar voyage

valspar Bistro white
The paints we were considering are
Valspar Metropolis (Top Right of each sample)
Valspar Voyage (Top Left of each sample)
Valspar Bistro white (Top white)
Valspar Ultra-white (Bottom white)

We went back to Lowe's and bought 4 samples. Always buy samples! They're cheap and SO worth it. We painted about a 18"x18" square on two walls. Why two walls? One has direct sunlight in the morning and one is ALWAYS indirect. The colors look different depending on the time of day, natural light and even the bulbs in the lights, as you can see in the above photos. Both pictures were taken at the same time of day. Big difference! We left the paint samples up for about 2 weeks before choosing the winners. I'm going to be honest, the samples I picked where not the winners and I definitely can't tell the difference between the whites.

Which ones did we pick? Wait and see. The transformation is so good! What would you have picked?

Get caught up with Living room redo part 1 & Living room redo part deux

Monday, January 12, 2015

DIY Mirror update

This mirror came with a second hand dresser we bought. The mirror alone was worth the price of the dresser!
It finally warmed up enough to spray paint it out in the barn. This project was super simple. The most time consuming part was taping and sliding the cardboard between the frame and glass.


Before

Please ignore all the mess on the dresser!

Here's what I did. 
I scuffed up the wood with sandpaper, wiped off the dust. This took a total of 5 minutes. 

Next is getting the cardboard between the frame and glass. I used diet coke boxes. They're thin enough to slide in and sturdy enough to be pushed in without bending. I carefully slide some tape between the glass and frame where I couldn't fit the cardboard, covered the rest, taped it up and was ready to go!


Next was painting. I did 3 coats I think, I wanted to make sure all sides were covered and there was one high spot that just didn't want to be black! I let it dry for at least 30 minutes between coats.


There was a little bleed through onto that glass. My dear friend Google informed me that acetone would fix that. It sure did! Who knew?


Here's what I used
Krylon Fusion Black gloss
a tiny strip of sandpaper
a few diet coke boxes
frog tape


Monday, December 29, 2014

Living Room redo part deux: Hello lights and fixed window trim!

Here we go, it's time for the electrical! We had a few companies put bids in before choosing our electrician. Let me tell ya, they're expensive! Definitely worth it to not burn our house down or electrocute ourselves! Mr. Scribs cut all the holes for the outlets and boxes for the lights. It was easier than expected once we made sure there wasn't any studs where we wanted everything.

We put gang boxes in where the TV would be so there is no visible wires, everything goes in the wall behind the TV and out near the bottom. Well worth the extra money and effort to not see any ugly cords!
All the windows and doors on the first floor have the same trim. They all have the weird over-hang on each side. I don't get it. Doesn't make any sense to me, so we took it down, cut the extra off and fixed it.

Before


 After


Much better! Up next the fun stuff, paint swatches! Don't forget about part one!


Monday, December 22, 2014

Living room redo. Part 1 goodbye wallpaper, hello cedar walls!

We're finally getting around to redoing our living room! I say finally like we've been putting it off for years, we've only been here for 3 months. It is an enormous room! Theres 2 windows, 3 doors and about 400 square feet. I know theres  a lot of potential in there! The first thing we needed to do is get rid of the wall paper. Let me tell you, that was a spectacular woodsy scene!


Tan walls, tan ceiling, red wainscoting, wall paper border mid wall and extra molding. It was… let's just say not our style and dark.

The wall paper came down fairly easily. We peeled off what we could before wetting the rest with sponges and hot water. Wet, scrubs, pick and peel. Surprisingly after 3 nights we were finished. That was the easiest part.

Next came figuring out where we'd need plugs and lights. I have no idea how the previous family only lived with 4 plugs in such a big space and no lighting. At all. It was like a cave in there, even with lamps. Obviously we needed to have some lighting put in. We opted for four wall sconces, added 4 plugs and a light switch. Good god, electricians are expensive! And who knew that were wasn't a "proper" place to put a sconce other than the tallest person shouldn't be able to see the bulbs. We marked the walls where we thought we'd like the sconces by putting up pieces of paper and leaving them there for about a week. We drew a spot of the TV and marked for outlets and left it for more than a week. By the time we were ready to cut the holes we knew thats where we wanted everything.

Cutting holes in the walls always makes me nervous, our house is almost 100 years old. I was convinced there was going to be a nightmare of something in there. No dead bodies, no monsters living in there. Thankfully there was a pleasant surprise. PILES OF CASH! No wait, that didn't happen. Our walls are two inch cedar planks with half an inch dry wall on top. Hello insulation! 
  
No wonder the stud finder kept showing studs everywhere! Step one complete. Wall paper removed!